If you’re just getting started with N2, the next evolution of the Nuido visual automation framework for Odoo, this tutorial is for you. In just a few steps, you’ll build a simple workflow that shows both static and dynamic messages — the perfect way to grasp the fundamentals of N2’s graph-based automation.
What You’ll Learn
How to create a new N2 graph
How to display a static message
How to work with dynamic content that comes from workflow parameters
The basics of how N2 workflows execute under the hood
Prerequisites
Before you begin, make sure:
The N2 Core modules
The N2 Messaging module
are both installed in your Odoo environment. If you haven’t done that yet, check out the N2 Quick Start guide first.
Step 1 — Displaying a Static Message
Let’s start with the simplest possible workflow: one that displays “Hello World!”.
Create the Workflow
Go to the N2 menu inside Odoo.
Click the Designer button to open a blank graph.
Add Nodes
Drag a StartNode onto the canvas.
Add a NotifyNode and connect the StartNode to it.
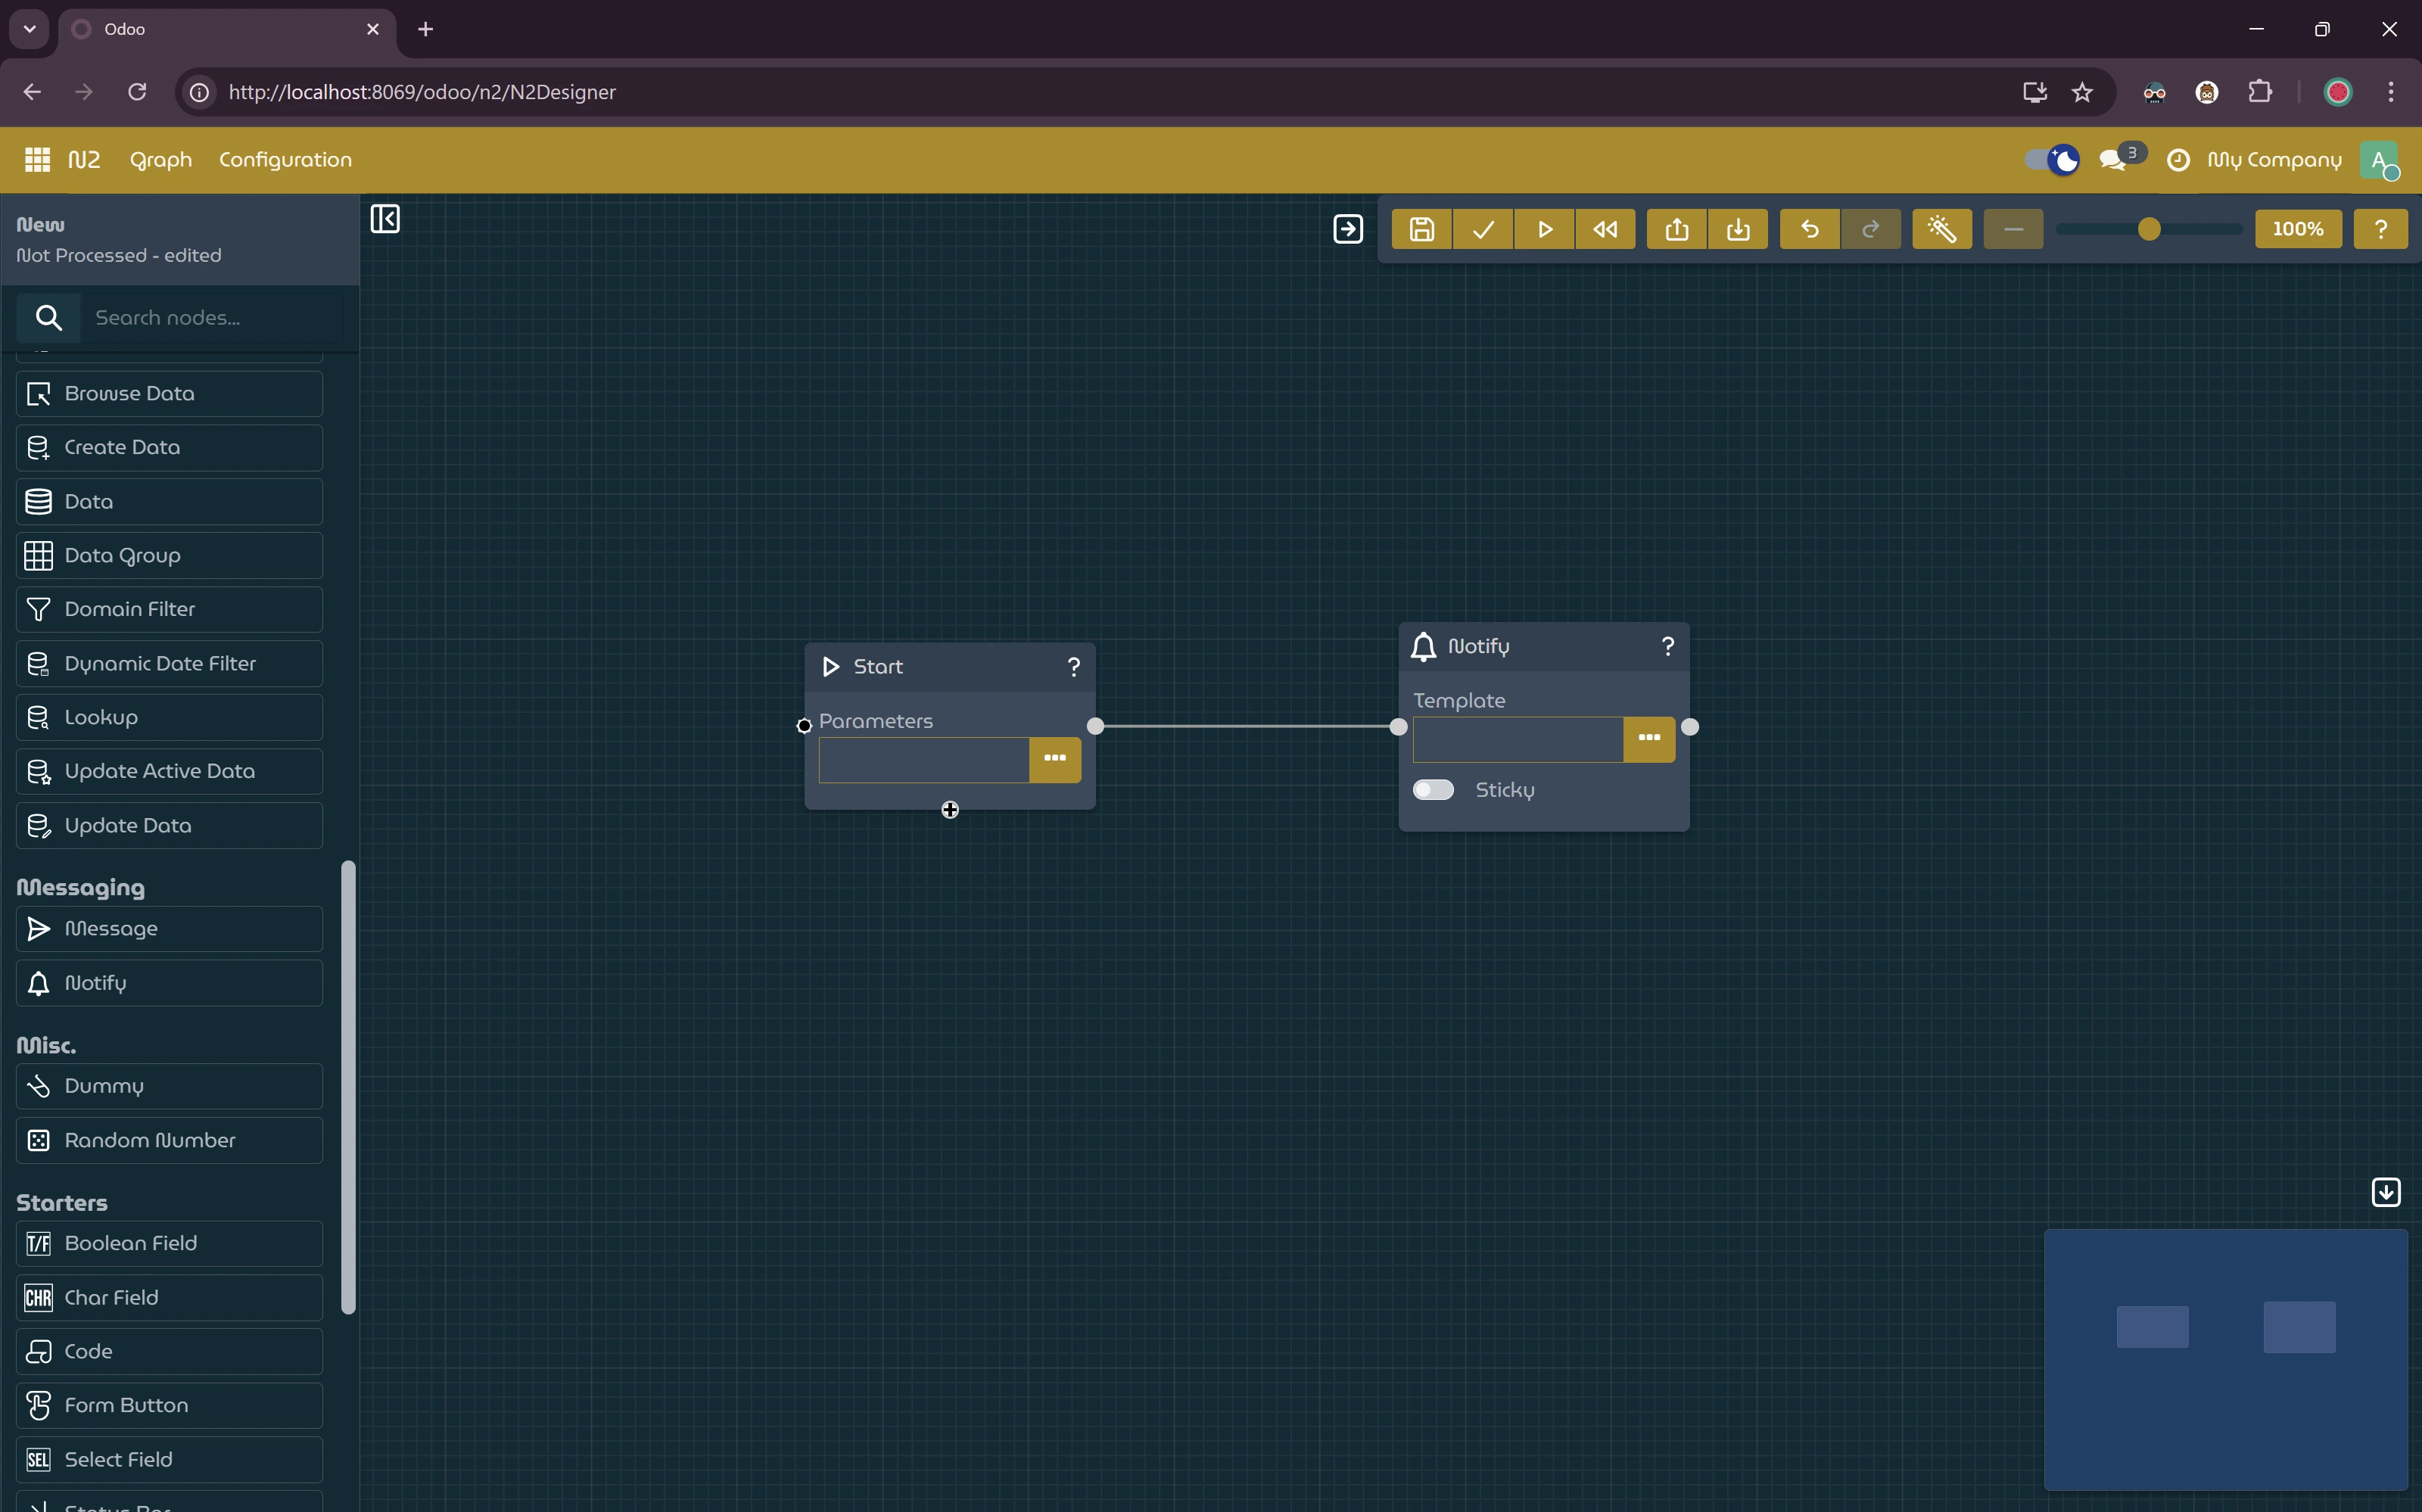
Configure the NotifyNode
Click into the Template field of the NotifyNode and enter:
Hello World!
Save your graph, process it, and then click Run. You should see a notification popping up with your message.
3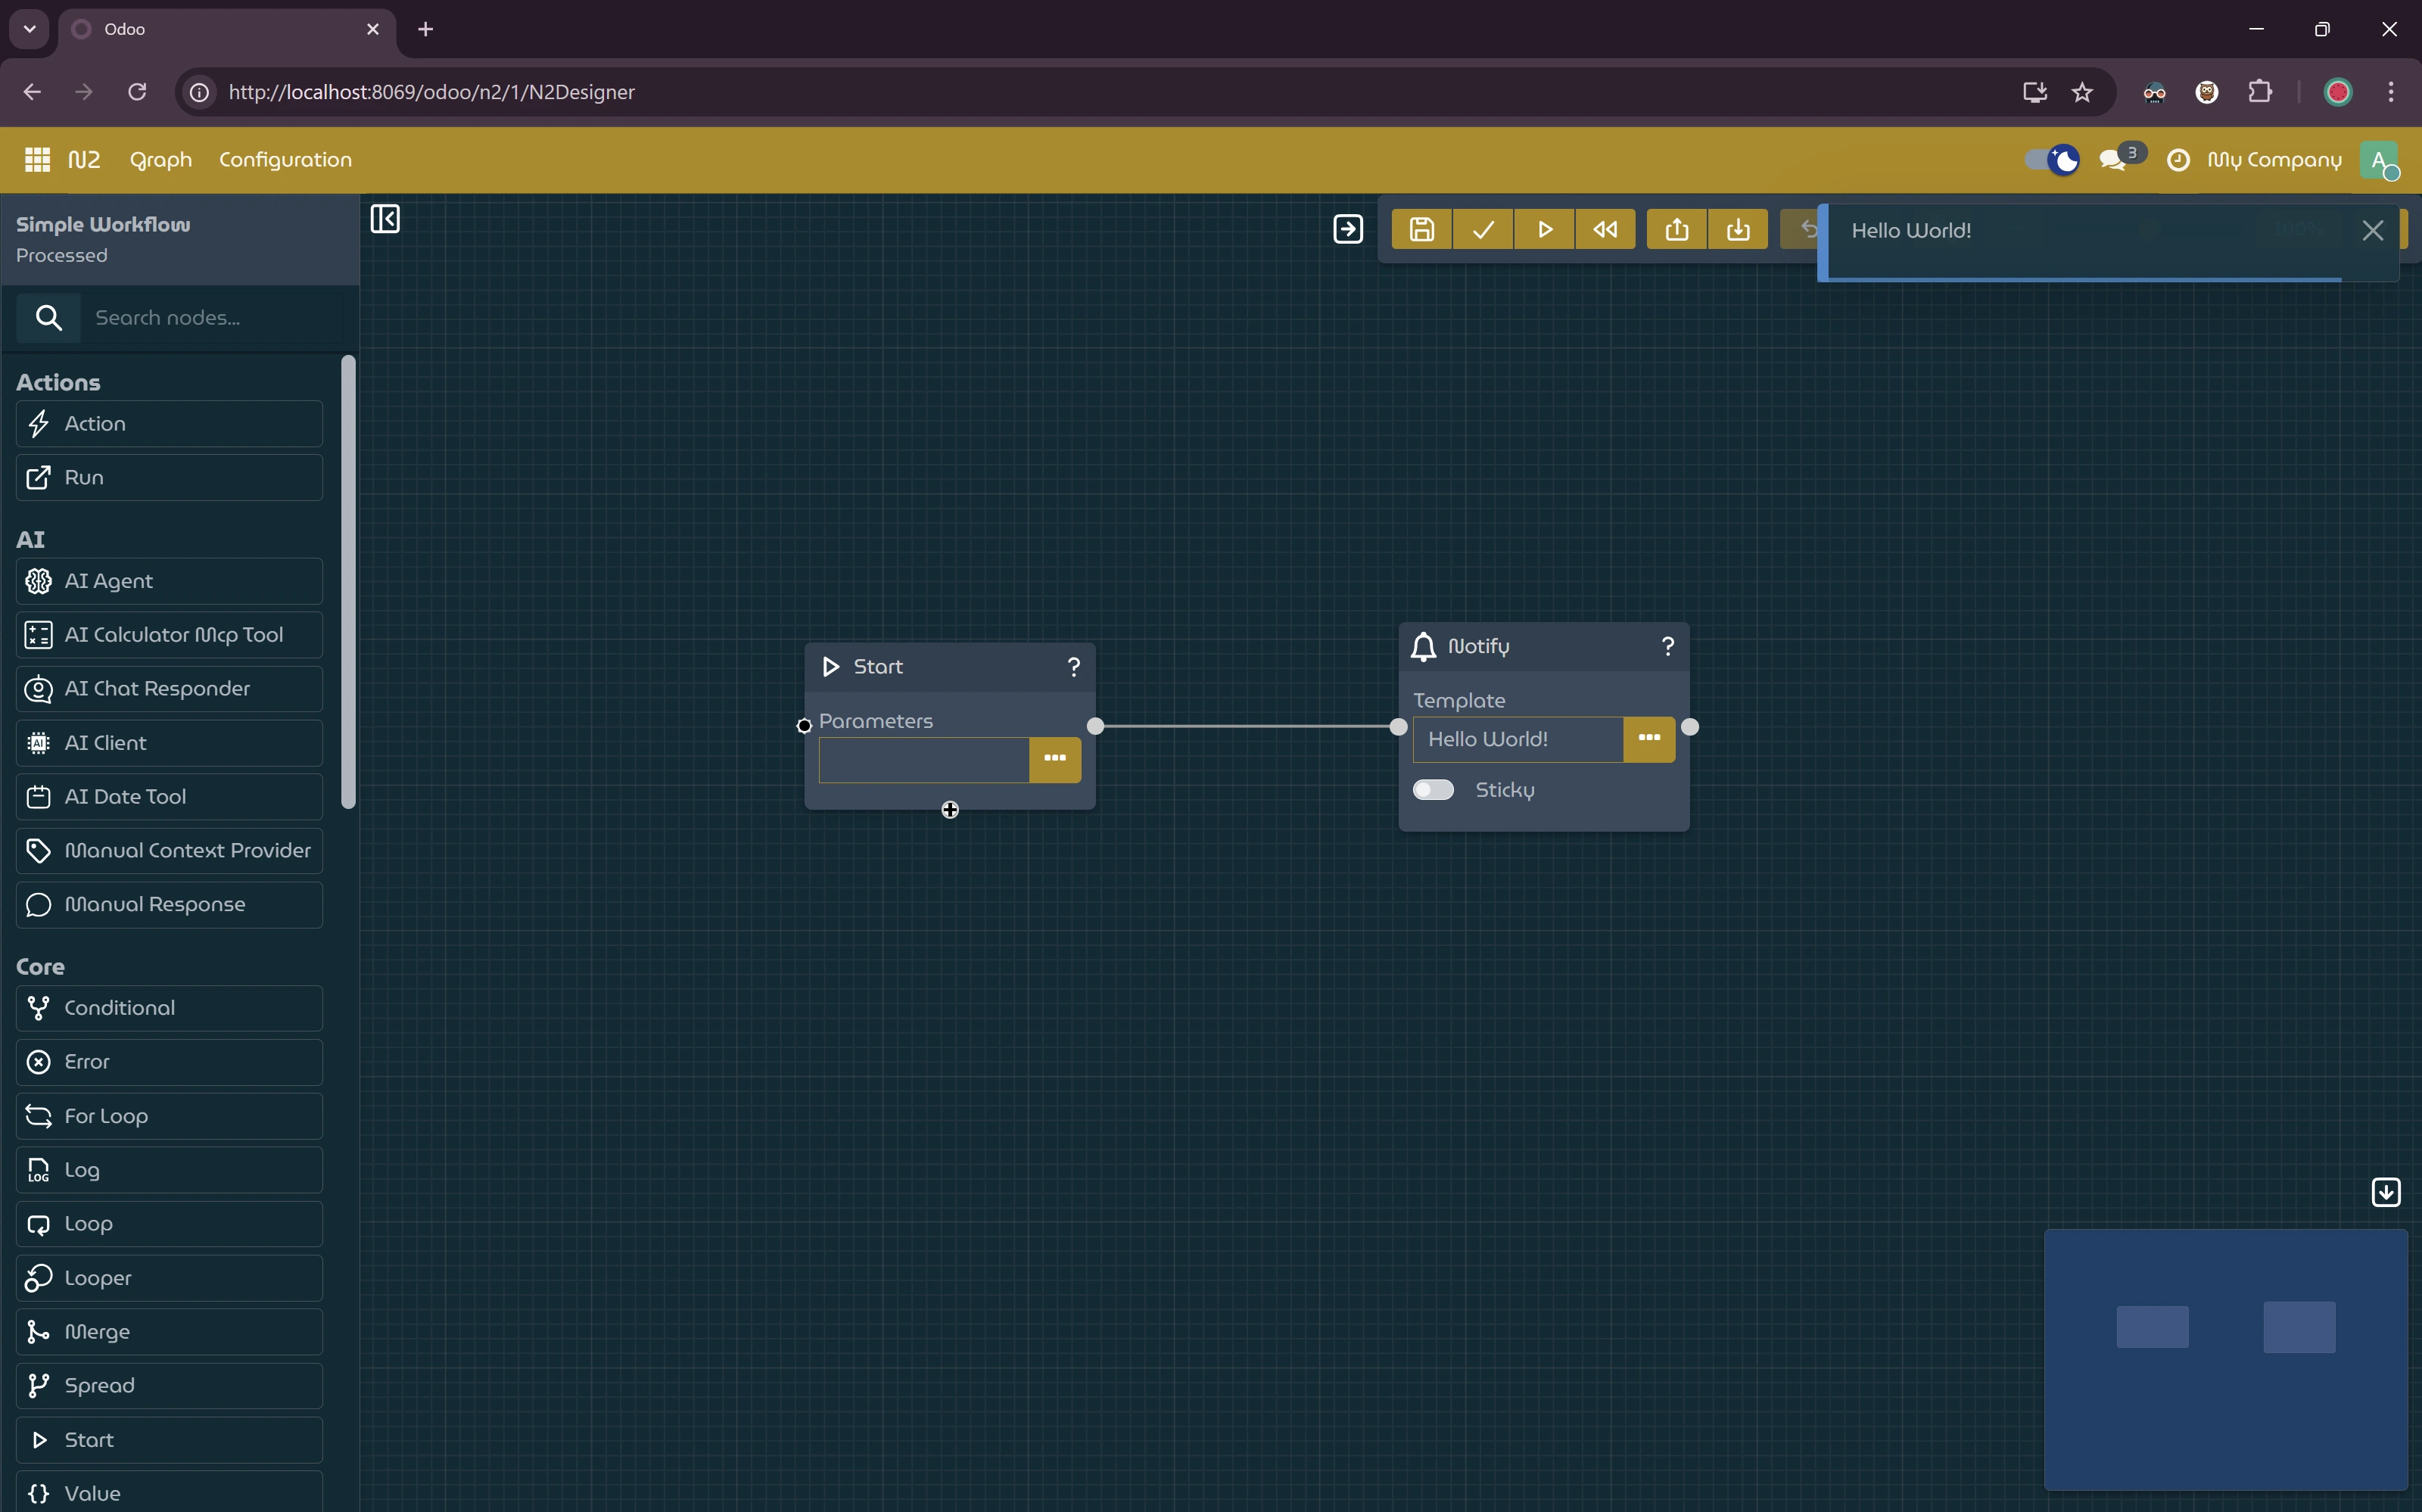
Step 2 — Displaying a Dynamic Message
Now let’s make things more interesting by passing a custom message into your workflow.
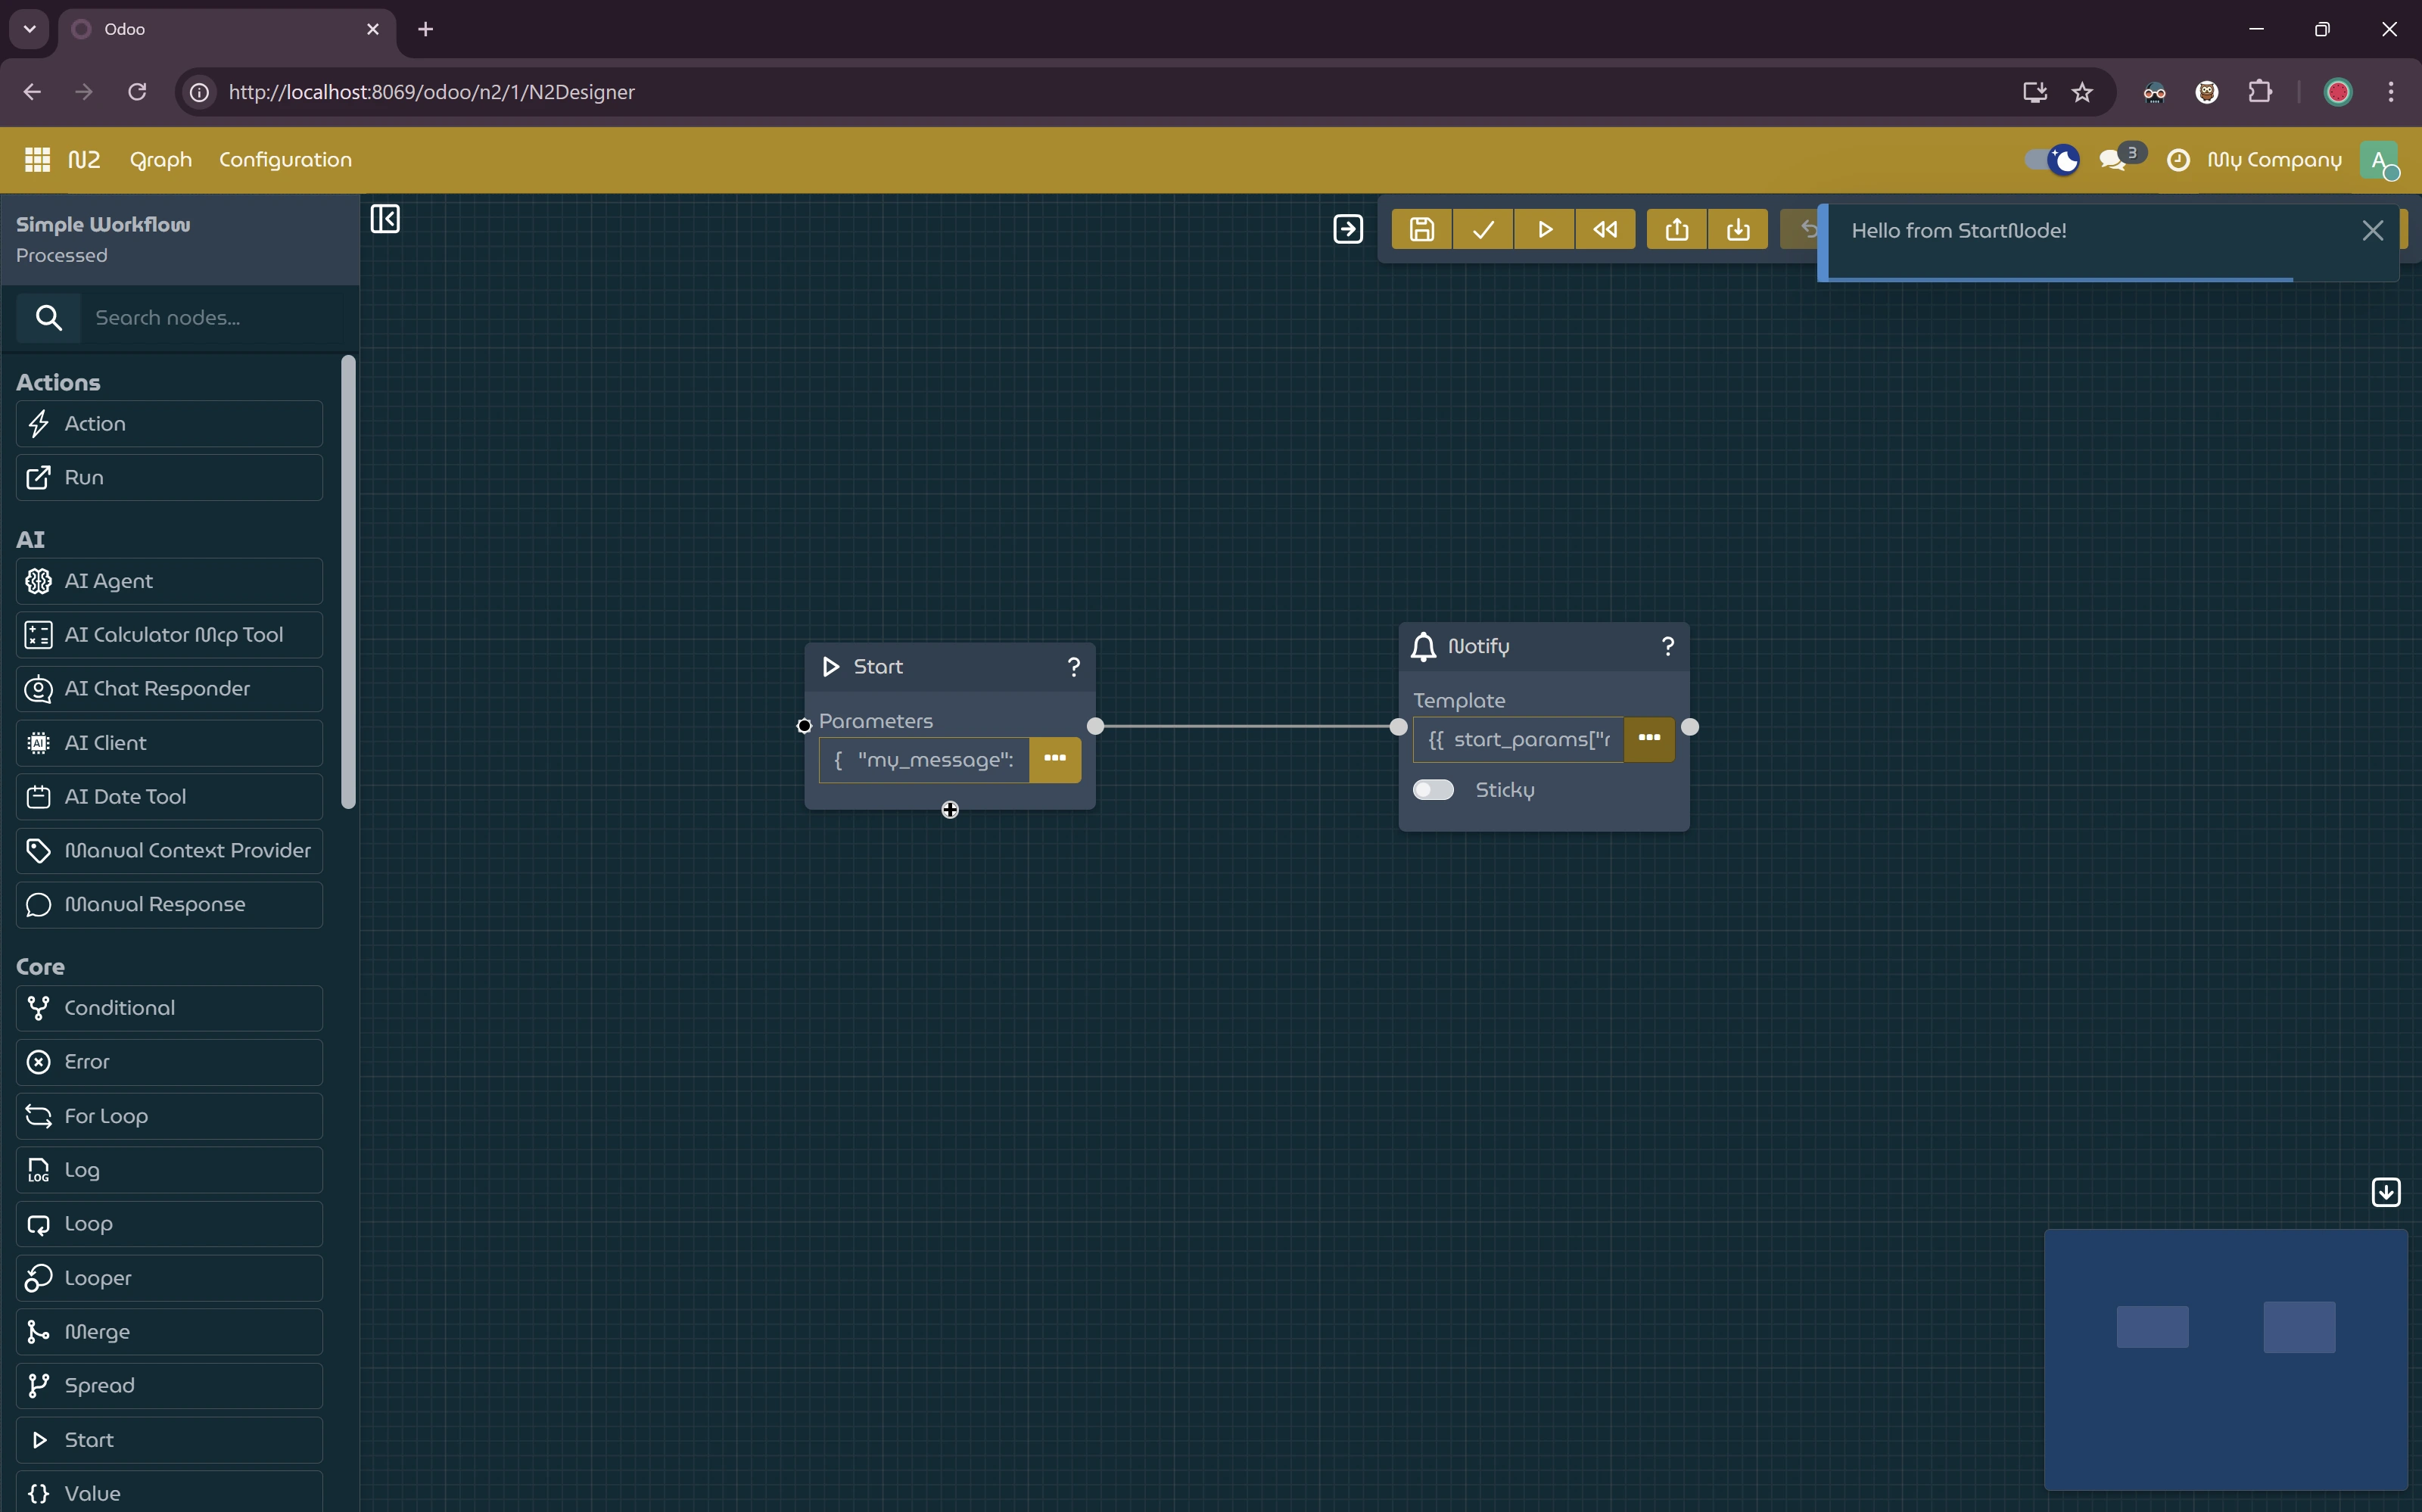
Set Parameters
Open the StartNode’s parameters dialog.
Paste this JSON:
{
  "my_message": "Hello from StartNode!"
}
Update the NotifyNode
In the NotifyNode’s Template field, enter this expression:
{{ start_params["my_message"] }}
Save, process, and run again — this time the workflow will read the message from your StartNode and display it dynamically.
How It Works (Behind the Scenes)
N2 represents workflows as graphs — essentially a network of nodes that execute in order. Here’s a summary of what happens when your workflow runs:
The workflow starts at the StartNode.
Any parameters injected there (like "my_message") are stored in a shared execution context.
The NotifyNode reads from that context using a template expression.
The message is rendered on screen.
Nodes in N2 are modular units of work. They can carry parameters, interpret templates, and pass data along connections — allowing you to build more complex workflows without writing a single line of Python code.
Next Steps
This simple workflow tutorial is just the beginning. Once you’re comfortable with static and dynamic messages:
Explore other node types
Pass data between nodes
Build workflows that trigger real processes in your business logic
Check out the full N2 documentation for deeper dives into nodes, templating, triggers, and more.